Visual Planning - Marker Configuration
General
On the page Visual Planning - Marker Configuration Markers can be configured. A Marker is visual location on the Map of the Visual Planning based on either the loading or unloading action of an Unplanned Section or a stopaction of a Trip.
Markers vs. clusters:
| Map Version | Behaviour |
|---|---|
| Markers | Markers will be grouped automatically per Address/Activity. Clicking on a grouped Marker will show the invidual Markers in a spiderfied pattern. When hovering over a Marker an info pane will appear, showing more detailed information. A Marker cannot dispaly a value.Markers are recommended when only a limited number of stops in an area are applicable. |
| Clusters | Nearby Markers are grouped based on the Cluster Radius set. The Clustered Marker contains a calculated value; zooming in (or clicking) will break clusters apart. When hovering over a Marker an info pane will appear, showing more detailed information. Routes and Selected Markers are never clustered. Clusters are recommended when a higher concentration of stops in an area are applicable. |
Tip
Multiple Marker Configurations can be configured and linked to a User in the Visual Planning - User Setup.
The page: Visual Planning - Marker Configuration can be opened from the role-centre by clicking on: Setup > TMS Setup > Visual Planning Setup > Marker Configuration.
Functionality
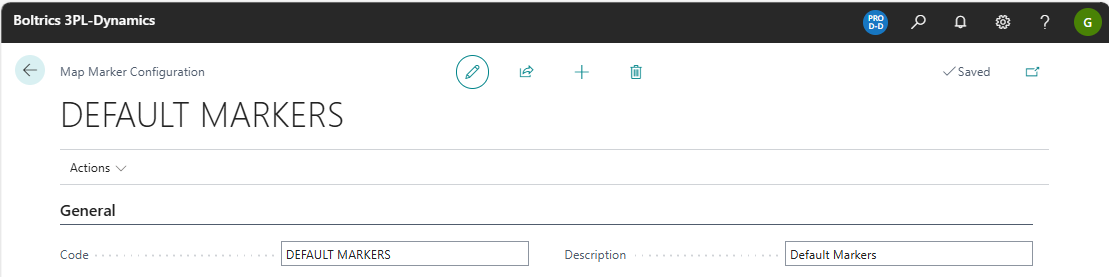
Tab: General
The basis settings like Code en Description of the Marker Configuration.
Actions
Initialize: Will create a default Maker Layer.Export/Import.: The menu Export/Import.Export Package: Will create a JSON-file containing the selected markers.Import Package: WIll will open a window to import a JSON-file containing a Marker Configuration.
Fields
Code: The unique code of the Marker Configuration.Description: The description of the Marker Configuration.
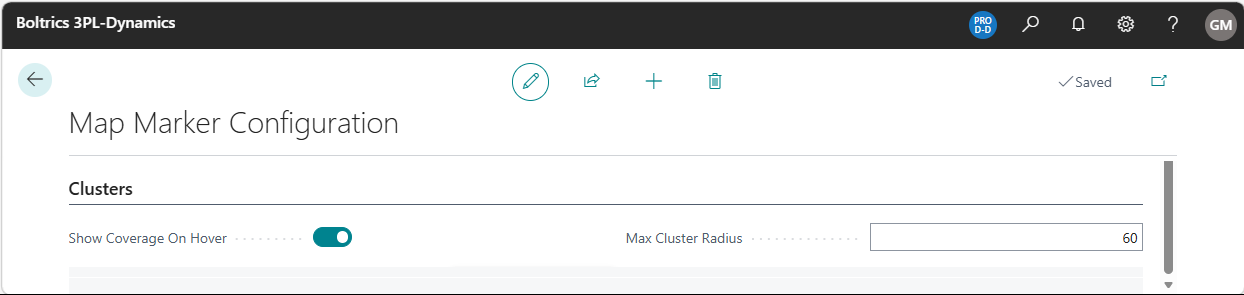
Tab: Clusters
To combine single markers to a cluster the following settings must be applied.
Fields
Show Coverage on Hover: Yes: will present the area on the map covering the cluster.Max Cluster Radius: Distance on screen (pixels) within which Markers are merged into a single cluster. Default value: 60 range: 1-200.
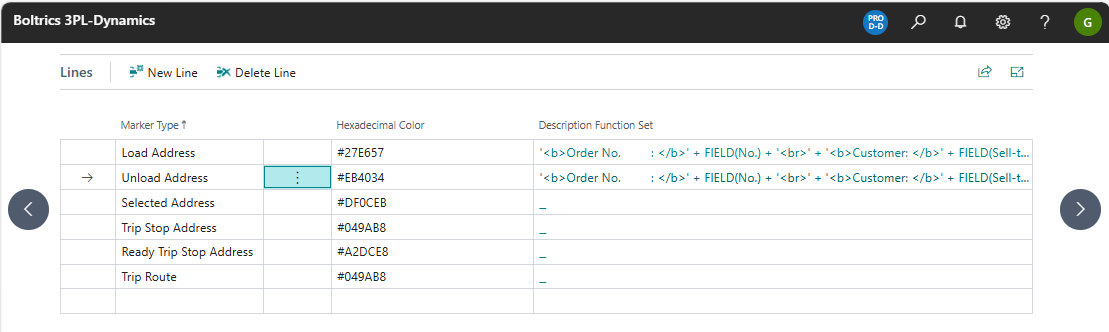
Tab: Lines
On the Lines tab, a color and description for the info pane as shown in the Best Practise Examples can be defined.
Actions
New Line.: Creates a new line above the selected line.Delete Line: Deletes the selected line.
Fields
Marker Type: Options: Default, Load Address, Unload Address, Selected Address, Trip Stop Address, Ready Trip Stop Address, Trip RouteHexadecimal Color: Enter a code to apply a color on the marker. See the Microsoft Control Add-in Style GuideDescription Function Set: A functionset can be configured to define what data is to be shown in the info pane when hovering over a single Marker.Cluster Value Calculation: A functionset can be configured to define what data is to be shown in the info pane when hovering over a clusterd Marker
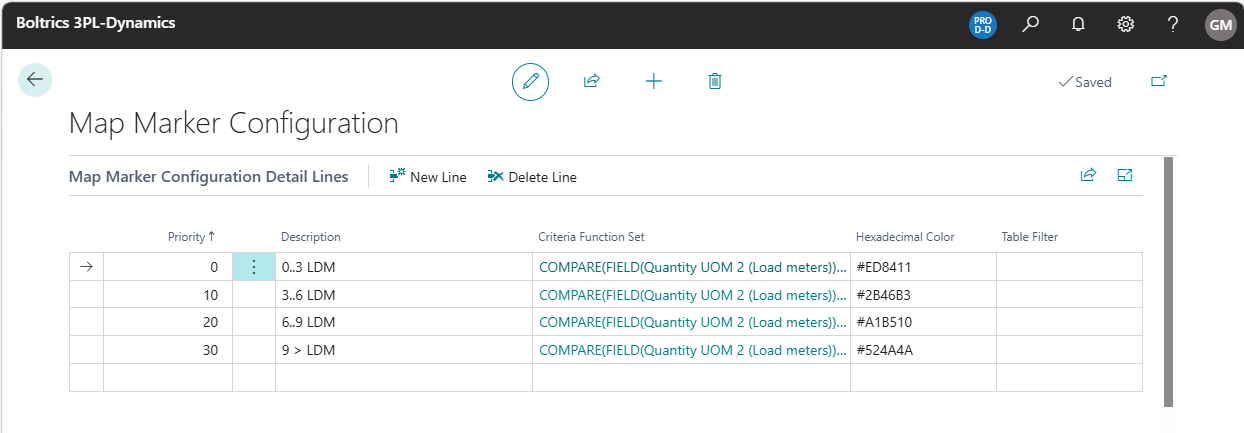
Tab: Map Marker Configuration Detail Lines
For each linne multiple Detail Line can be configured on the tab: Map Marker Configuration Detail Lines. Additional functions can be applied to set the color of Marker to a specific value based on a Table Filter or Criteria Function Set.
Actions
New Line.: Creates a new line above the selected line.Delete Line: Deletes the selected line.
Fields
Priority: The priority determines in which sequence the lines must be applied.Description: The description of the Detail Line.Criteria Function Set: A filter can be created so a line is applicable on a specific marker.Hexadecimal Color: Enter a code to apply a color on the marker. See the Microsoft Control Add-in Style GuideTable Filter: A filter can be configured so a line is applicable on a specific marker.
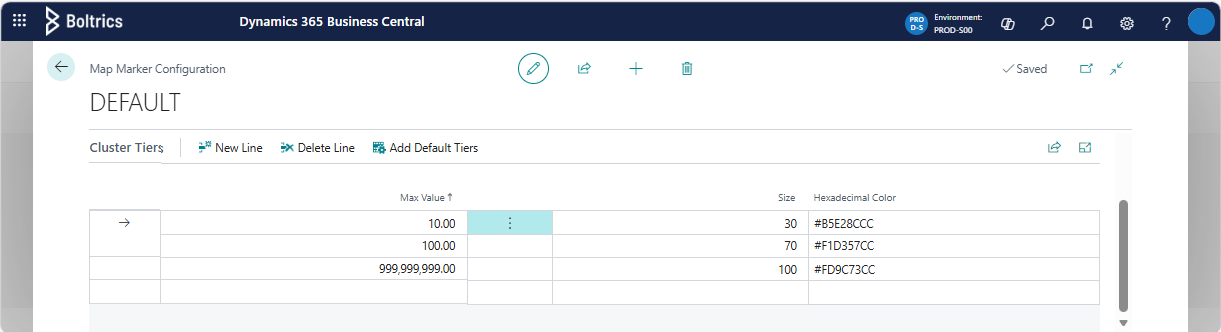
Tab: Cluster Tiers
On Cluster Tiers tab, settings can be applied to the size and color of clusterd Markers.
Actions
New Line.: Creates a new line above the selected line.Delete Line: Deletes the selected line.Add Default Tiers: Will add a set of 3 lines with values and color settings.
Fields
Max Value: The maximum number of Markers to be combined in a clustered Marker.Size: -Hexadecimal Color: Enter a code to apply a color on the cluster marker. See the Microsoft Control Add-in Style Guide
Best Practice Example
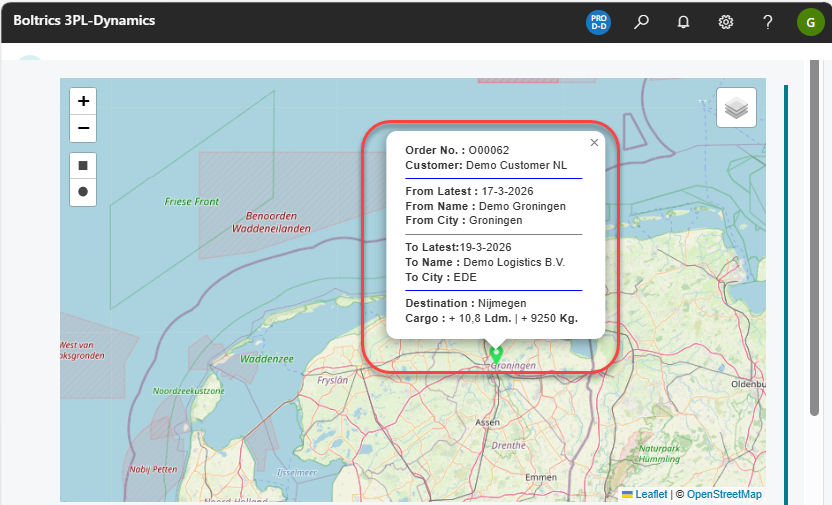
Loading Marker info pane
The Marker shown below is the load-address for the Section from Groningen to Ede. This is the first Section of an Order from Groningen to Nijmegen.
Tip
Click on the Function Set: MARKER_LOAD for the JSON-file containing the configuration as shown in the screenshot.
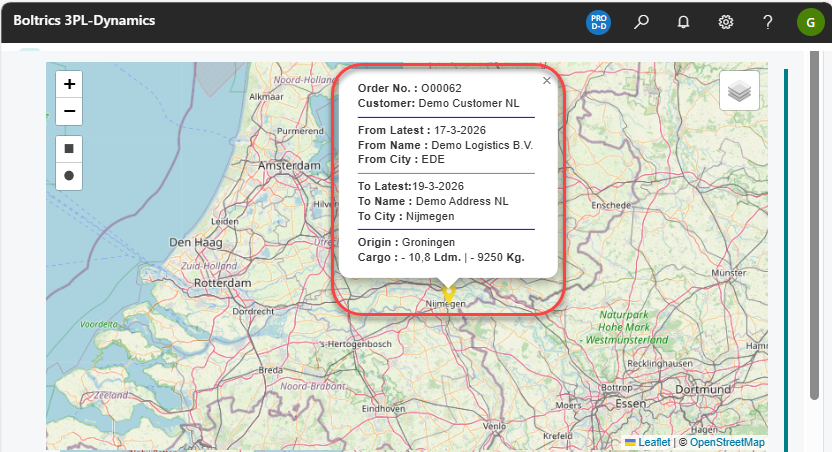
Unloading Marker info pane
The Marker shown underneath is the unload-address for the Section from Ede to Nijmegen. This is the last Section of an Order from Groningen to Nijmegen.
Tip
Click on the Function Set: marker_UNLOAD for the JSON-file containing the configuration as shown in the screenshot.
Markers vs. Clustered Markers
When a planners opens the Visual Planning 40 overlapping Load Addresses:
- Markers: many pins will be on top of each ohter. The Markers are hard to read.
- Clustered Markers: only a few circles, If cluster value is 1 per stop, the label might show 40. If cluster value is quantity per section, the label shows total quantity in that area. Colors and icon size follow the tier for that total.
Zooming in splits clusters into smaller groups or single markers. At high zoom, overlapping markers can spread so you can select the right stop. Routes and the selected stop remain easy to see because they are not part of the cluster grouping.
Tip
• Recommended setting on Max. Cluster Radius on urban area: 80-120. On rural spread: 40-60. • Align cluster tiers with the Cluster Value Calculation (e.g. if values are often above 100, set tier breakpoints accordingly). • Use Show coverage on hover when planners need to understand which stops are inside a clustered Markers.
Settings
The following Settings are applicable on the Marker Configuration:
| Page | Description |
|---|---|
| Visual Planning User Setup | A record must be set for each user. Field: Default Top Left View: must contain value: Map to present the map. Field: Map Version to define if either Markers or Clusters must be shown on the map. |
| Visual Planning Layer Configuration | A Marker Configuration can be set to specify: values, colors, sizes and cluster radius on Makers and Clusters. |
Tip
After changing Map Version or Marker Configuration, you may need to refresh the Visual Planning map to see the