Visual Planning
General
The page: Visual Planning offers functionality to create and/or modify trips by selecting unplanned sections from a map. The page includes functionality so users can customise the view to carry out their planning work effectively.
The page Visual planning is part of the menu: Planning & Execute on the Role Centre.
Note
The Visual Planning is not part of the basic 3PL Dynamics Transport Application. Contact your local partner or Boltrics Account Manager for more information.
Functional
Starting Visual Planning
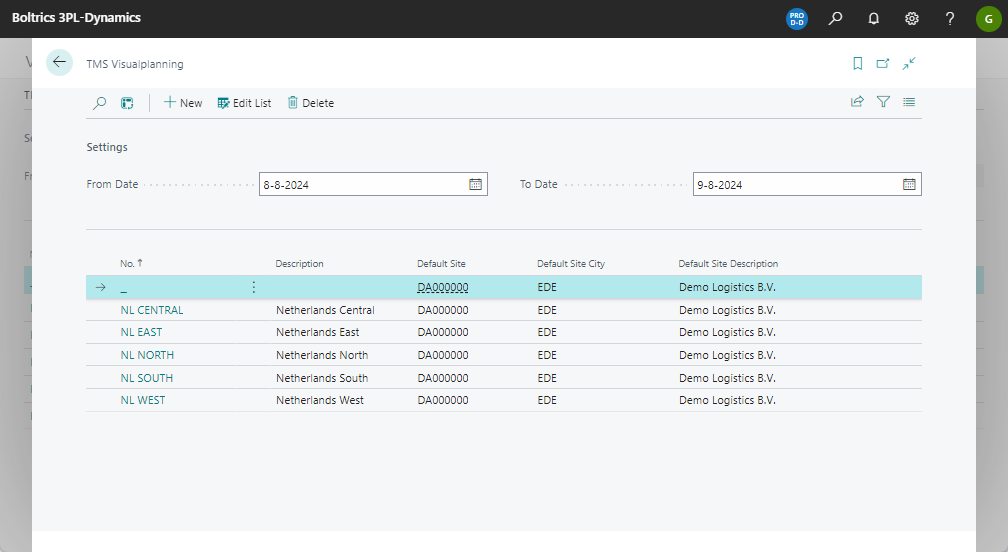
When opening the page: Visual Planning first a selection page is opened.
Note
- Click on the action: Edit List so dates can be adjusted.
- Click on a line to open the planning of the Plan Department.
- Select the line without a Plan Department if no filter on a Plan Departments is required.
Windows
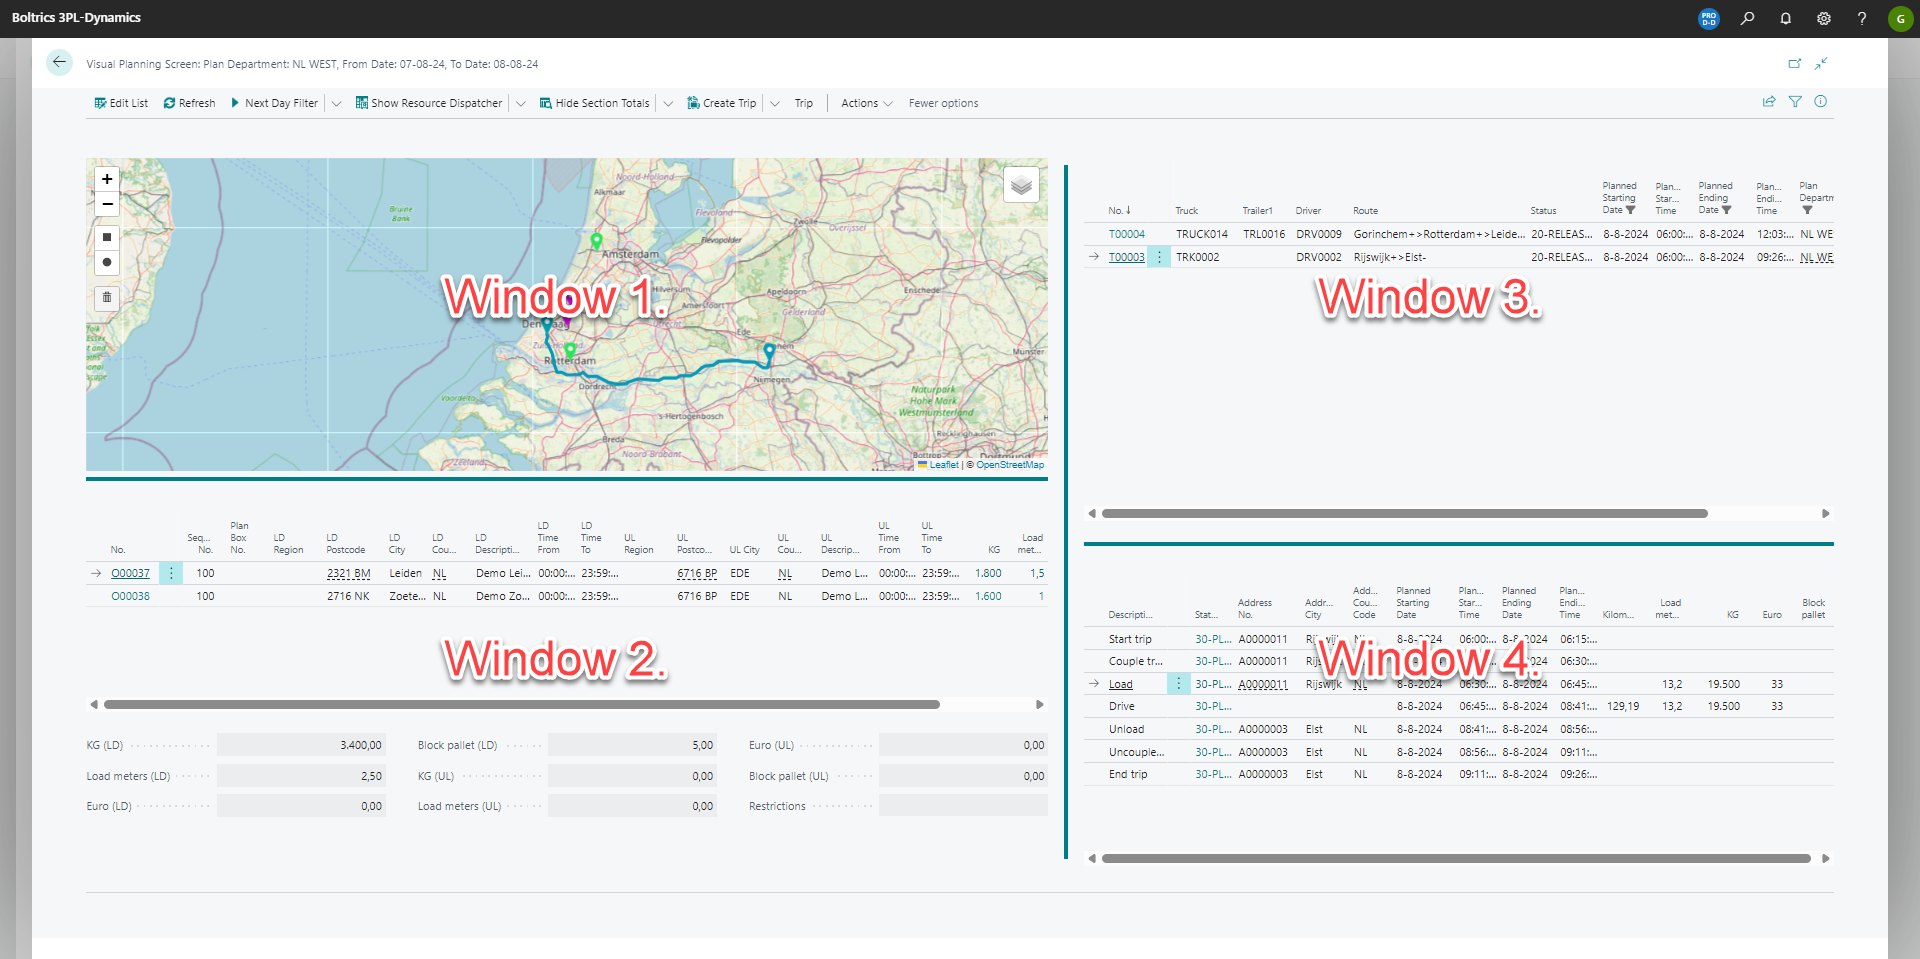
The page: Visual Planning contains serveral windows.
Tip
- The size of the windows can be modified by clicking and dragging the blue lines to the required position.
- Click on the i-button on the right top of the page to show/hide the factboxes.
- In the Visual Planner User Setup can be set what type of window is to be shown when opening the Visual Planning.
- Window: Map. A map showing markers related to the unplanned sections. By clicking on the appropriate action the view can be changed to: List of unplanned sections or Resource Dispatcher.
- Window: Selected Sections. The list of the sections selected in window 1. Below this list the totals of the selected sections is shown. By clicking on the appropriate action the totals can be hidden or the Goods Details can be added to the view. By clicking on the action: Show Trip Stops the stops of the trip selected in the window-trip can be shown. Click on Refresh when selecting an other Trip.
- Window: Trips. The list of trips which have been planned.
- Window: Activities The activities planned on the trip selected in window 3. By clicking on the appropriate action the view can be changed to the sections planned on the trip.
Fields
Edit List: Switches to edit mode. In edit mode, fields in the Trips and Trip Sections windows can be modified.Refresh: Refreshes the page. New orders or updates will be applied.Next Day Filter: Changes the view to the next day. Applies to all windows.Previous Day Filter: Changes the view to the previous day. Applies to all windows.Show Resource Dispatcher: Changes the view of window 1 to Resource Dispatcher.Show Unplanned Sections: Changes the view of window 1 to Unplanned Sections.Show Map: Changes the view of window 1 to Map.Show/Hide Section Totals: Shows or hides the totals of planning quantities for the selected sections in window 1.Show Goods Details: Shows or hides the Goods Details view for the selected sections in window 1.Show Activities: Changes the view in window 4 to activities planned on a trip.Show Section Details: Changes the view in window 4 to the planned sections of a trip.Show Trip Stops: Changes the view in window 1 to Trip Stops.Create Trip: Creates a new trip based on the markers, unplanned sections, or resources selected in window 1. For sequence determination of stops or planned activities, see Design Details - Sequence Determination.Add to Trip: Adds the selected markers or sections in window 1 to the trip selected in window 3. For sequence determination of stops or planned activities, see Design Details * Sequence Determination.Next Status: Changes the status of the selected trip in window 3.New Trip: Creates a new trip in window 3. The start time is based on the Default Trip Starting Time field in Transport Setup.Customer Service: More information will follow soon.Select for Planning: Selects an unplanned section or resource in window 1 using F7. To deselect it, click it again.Calculate Activities: Calculates the selected trip in window 3.
Window 1. Map
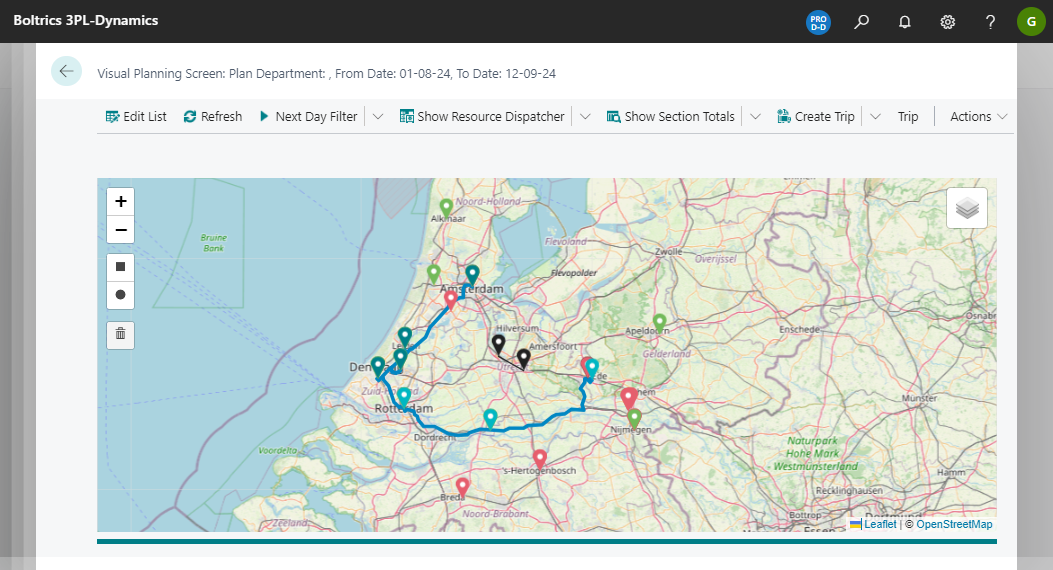
This window shows the markers related to the unplanned sections. Depending on the selected layers filters will be applied so more or less markers will be shown. When selecting a marker the sections will be shown in window:2.
Note
- Markers related to depot will not be shown on the map.
- Hover the mouse over a marker to show more info related to the marker. The info to be shown can be configured see: Marker Configuration.
| Buttons | Description |
|---|---|
 |
Zoom in. Alternative: click on the map and scroll up with the mouse wheel. wheel. Click on the map an hold the left-button to reposition the view. |
 |
Zoom out. Alternative: click on the map and scroll down with the mouse wheel. Click on the map and hold the left-button to reposition the view. |
 |
Draw circle to select markers. Deselect markers by clicking on the marker or remove the line from the selected sections(window 2). |
 |
Draw square to select markers. Deselect markers by clicking on the marker or remove the line from the selected sections(window 2). |
 |
Open list of Layers. Select lines to apply filter on Markers shown on map. |
| Markers | Description |
|---|---|
 |
A marker of the type Loading. |
 |
A marker of the type Unloading. |
 |
A marker selected. |
 |
A marker Trip Stop planned. |
 |
A marker Trip Stop ready. |
Note
- If multiple orders/sections apply to a marker, they are merged. When clicking on the marker, they are split and connected by a straight line.
- Colours of the markers can be modified by creating a new Marker Configuration. Open the Visual Planning - User Setup to apply the new Marker Configuration on a user.
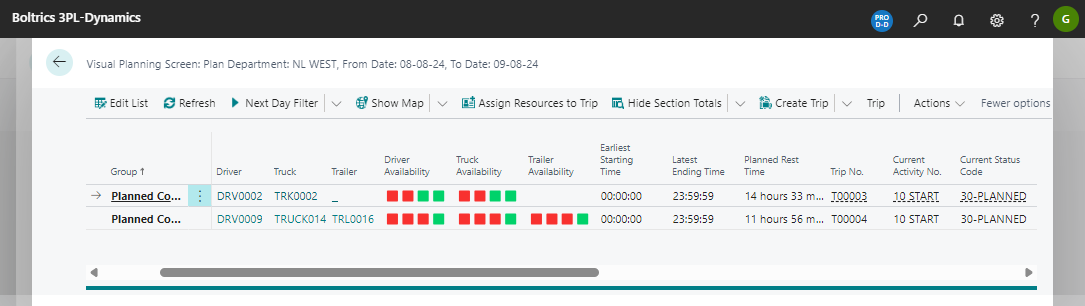
Window 1. Resource Dispatcher
This window shows the resources and the availability. For more information see: Resource Dispatcher
Note
- To add resources to a trip Select(F7) a line in the Window: Resource Dispatcher, select(F7) a line in the Window: Trips and click on the action: Assign Resources to Trip.
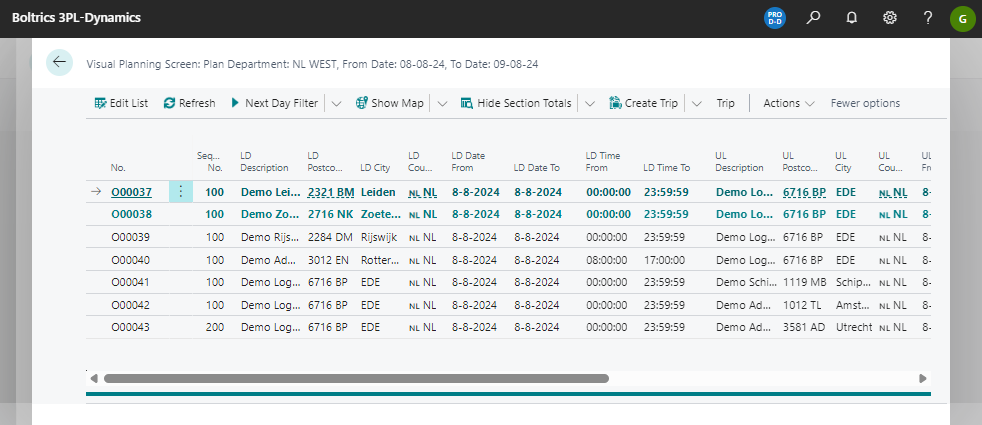
Window 1. Unplanned Sections
This window shows the sections which are not planned on a trip.
Note
- To select a section click on the line and click on the action: Select for Planning(F7). The line will be assigned to the user and the font of the text will change. The section will also be shown in the window 2. selected sections.
- To deselect a section assigned to a user, click on the line and click on the action: Select for Planning(F7).
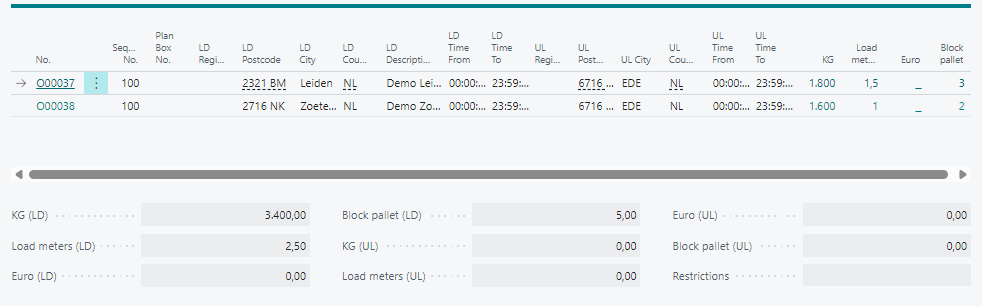
Window 2. Selected Sections
This windows shows a list of sections which have been selected in window 1.
Click with the left-mouse-button on the button:  to open the following action-menu:
Actions
Remove from Selection (F7): Removes the selected line from the selected sections.
Note
- Click on the action:* Show Section Totals* to show the totals of the planning quantities at the bottom of the window: Selected Sections. These totals will help users to select sections which will fit in a resource. The totals show both loading and unloading quantities because a user can select markers/sections of both types at once.
- Click on the action: Show Goods Details to show all goods-lines applicable on the sections.
- Click on the value in the field: No. to open the order page.
- If the field: Handling Resource contains a value the section has been uncoupled on a trip. The value shows on what resource the section is loaded.
Example Goods Details:

Window 3. Trips
This windows shows a list of trips planned.

Click with the left-mouse-button on the button: to open the following action-menu:
Actions
New: Creates a new Trip. The start time is based on the Default Trip Starting Time field in Transport Setup.View: Opens the Trip Card page in view mode.Edit: Opens the Trip Card page in edit mode.Select More: Allows the user to select additional lines.
Note
- When a line is selected window 1: map will show the route of the trip. Stops completed will be shown in darker colour than stops planned.
- Window 4: will either show the Planned sections or the Planned Activities of the trip selected.
- Actions which can be used: New Trip, Edit list, Calculate Trip, Next Status and Previous Status.
- Resources can either be entered manually(edit list) or from window 1: Resource Dispatcher.
- Click on the value in the field: No. to open the trip page.
- Click on a step in the fact-box Steps(Trip) to execute a step related to the trip.
Window 4. Planned Sections
This window shows either the activities or sections planned on the trip selected in window 3: Trips.
Planned Sections:

Click with the left-mouse-button on the button: to open the following action-menu:
Actions
Up / Down: Moves the selected line one position up or down.Deassign Section: Removes the selected line from the Trip. The Section will be shown in the Unplanned Sections or Map view (window 1) after clicking Refresh.Disable Combine Section: Allows the Sequence Number of a line to be changed independently. This is useful when multiple lines share the same Sequence Number and only one line needs to be modified.Split and Deassign: Splits the selected line or Section. For example, when a Section that must be unloaded at an address is redirected to a depot of a Carrier. The newly created section will be shown in window 1 on the Map or in Unplanned Sections after clicking Refresh. This section can then be planned on another Trip.Previous / Next Status: Changes the status of the selected line.Select More: Allows the user to select additional lines.
Note
- Click on the action: Show Activities to show the planned activities of the trip selected in window 3: Trips.
- Click on the action: Show sections to show the sections planned on the trip selected in window 3: Trips.
Window 4. Planned Activities
This window shows either the activities or sections planned on the trip selected in window 3: Trips.
Planned Activies:

Click with the left-mouse-button on the button: to open the following action-menu:
Actions
Add Additional Activity: Adds an Additional Activity to the Planned Activities.Delete Additional Activity: Deletes an additional activity. This function must be executed on the additional activity within the Trip.Move Up/Down: Moves the selected line one position up or down.Couple Trailer: Adds a coupling action to pick up a Trailer on a Trip.Undo Couple Trailer: Reverses a Couple Trailer activity. This function must be executed on the Couple Trailer activity within the Trip.Decouple Trailer: Adds a decoupling action after the currently selected activity. The remaining activities to be loaded or unloaded will be planned on a new Trip.Undo Decouple Trailer: Reverses a Decouple Trailer activity. This function must be executed on the Decouple Trailer activity within the original Trip.Select More: Allows the user to select additional lines.
Settings
The following settings are applicable when using the visual planning.
| Setting | Description |
|---|---|
| Transport Setup | The following settings are required : - On the tab: General the field: Default Activity Calculation Type must be set to Manuals Activities. - On the tab: Capacity: the Column:* Shortcut Capacity Level* must be set to: 1. for each resource. |
| Layer Configuration | A configuration must be set to configure what data is shown in the visual Planning |
| Marker Configuration | A configuration must be set to configure what markers are shown in the visual Planning |
| Visual Planning User Setup | A configuration must be set to configure settings on the visual planning per user. |